
Is your toilet driving you crazy with that constant running water sound? We feel you. Not only is it super annoying, but it can jack up your water bill too. Luckily, it’s not too hard to get your toilet back in working order yourself. This handy guide will walk you through how to fix a toilet that just won’t quit.
What’s Causing the Toilet to Keep Running?
There are a few common culprits behind a toilet that keeps on running. Here’s an overview:
- Flapper troubles – The flapper is that little rubber thingamajig that opens when you flush, allowing the water in the tank to empty into the bowl. If it’s warped, worn out, or just not sealing properly, it can cause leaks.
- Fill valve freakouts – The fill valve is supposed to control refilling the tank after you flush. If something’s out of whack with it, the tank can overfill and water keeps spilling into the bowl. Not good.
- Overflow tube weirdness – The overflow tube needs to be the right height and direct water properly into the bowl. If it’s clogged or broken, it can cause weak flushes and constant running.
Identify The Problem
To get to the bottom of what’s causing the problem, here are a few easy checks you can do:
- Add some food coloring to the tank and wait 15-20 minutes without flushing. If you see color in the bowl, it means your flapper is leaking.
- Check that the water level is about 1 inch below the overflow tube. If it’s too high or low, you’ll need to adjust the float.
- Poke around at the flapper, fill valve, and overflow tube to see if something is obviously broken or weird.
By doing some detective work, you can zero in on what needs fixing.
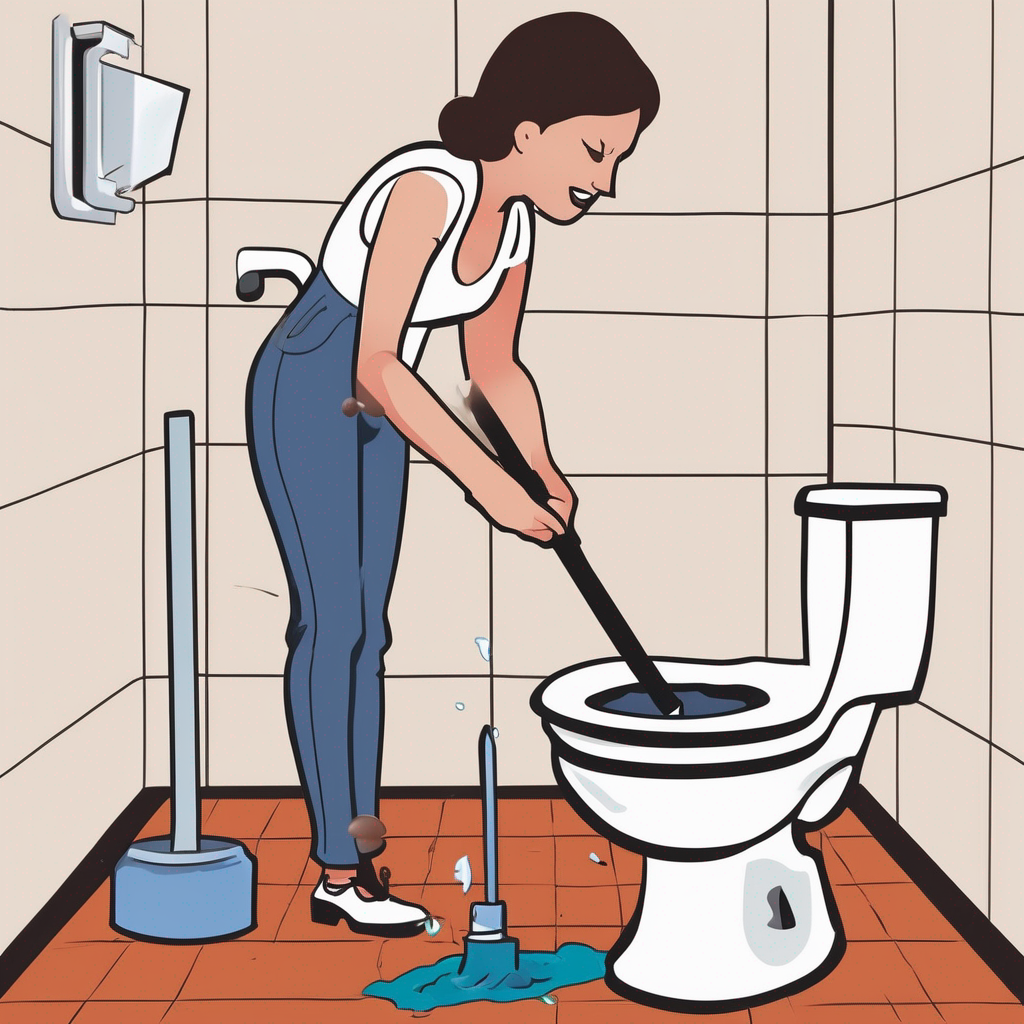
Repairing a Running Toilet Step-by-Step
Got your diagnosis? Sweet, now let’s make that sucker stop running!
Replacing or patching up the flapper
- Turn off the water and flush out any remaining water in the tank.
- Remove the flapper and detach it from the chain/valve. Give the valve area a wipe-down.
- Pop in a new flapper or patch up the old one. Make sure it’s attached securely.
- Turn the water back on and test that puppy out with a flush.
Tweaking or swapping the fill valve
- Locate the float screw and give it a twist to adjust the water level.
- If that doesn’t do it, shut off the water again and remove the fill valve completely.
- Put in a new fill valve, connecting it to the float and tube tightly.
- Turn on the water and flush to make sure it works right.
Fixing up the overflow tube
- If the tube is too short, replace the flush valve to get one with a taller tube.
- If the tube is busted, grab a new replacement tube.
- Check that the fill tube is directed nicely into the overflow tube.
- Give it a test flush – the running should be stopped!
Keeping Your Toilet in Tip-Top Shape
Here are some easy ways to keep your toilet happy and avoid future running misery:
- Give the parts a quick peek every so often to check for any signs of wear and tear.
- Use only toilet-safe cleaners to keep things fresh and prevent deterioration.
- Consider upgrading to a newer, water-efficient model for better flushing power.
With some simple TLC, your toilet will stay in working order and keep your water bill down.
Let us know if you need any help getting your stubborn toilet back to not running like a leaky faucet! We’ve always got more toilet repair tips up our sleeves.

For over a decade, Robin has been a real estate agent, interior design specialist, and mother. Through her trials and tribulations, she wanted to create the perfect website to help you save money and make your home look beautiful.